Linkerd
This guide will walk you through installing Linkerd, deploying a basic application, and using its observability and security features with Runme.
Prerequisites
Before proceeding with this guide, ensure you have the following.
- Runme Extension: Install the Runme extension in your VS Code editor and set it as your default Markdown viewer.
- Kubernetes cluster: A functioning Kubernetes cluster (such as Minikube, k3d, or a cloud provider's managed Kubernetes).
- kubectl: Kubernetes CLI installed and configured to interact with your cluster.
- Helm (optional): For easier management of Linkerd and its extensions.
- Linkerd CLI: Required to interact with Linkerd.
Setting Up
This section will walk you through how to set up for this project.
If you already have a cluster running, run this code cell below to delete the cluster if it already exists.
kind delete cluster --name runme-linkered
In this guide, we are using kind to create a Kubernetes cluster locally. The name of the Kubernetes cluster is runme-linkered
kind create cluster --name runme-linkered
To check if your cluster is running, run the command below.
kubectl get ns
Install the Linkerd CLI
After setting up the project, the next step is to install the Linkerd CLI. The CLI helps with tasks like installing Linkerd into your cluster, validating your setup, and checking the status of your mesh. To install, run the command below.
brew install linkerd
Verify the installation by checking the version:
linkerd version
Validate Your Cluster
To validate and ensure your cluster is ready to use Linkerd, run this command.
linkerd check --pre
This command will validate that your Kubernetes cluster meets Linkerd’s requirements (e.g., proper Kubernetes version, sufficient resources, etc.).
Install Linkerd Control Plane
To install Linkerd’s control plane, run the following commands. The control plane comprises components like the Linkerd controller, proxy injector, and web UI.
before installing the control plane, you have to install the custom resource definitions, run the command below
linkerd install --crds | kubectl apply -f -
Install the control plane:
linkerd install | kubectl apply -f -
If you would love to monitor the installation progress, run the command below.
linkerd check
Once installed, you’ll see a confirmation that Linkerd is running correctly.
Deploy Your First Application with Linkerd
You can deploy a sample application to demonstrate Linkerd in action. Let's use Linkerd's sample app, emojivoto. In this section, we will explore the steps to achieving that.
Install the emojivoto app using kubectl:
To do this, run the command below.
kubectl apply -f https://run.linkerd.io/emojivoto.yml
You can view the running pods in the emojivoto namespace:
kubectl get pods -n emojivoto
Now, inject the Linkerd proxy into the app:
kubectl get -n emojivoto deploy -o yaml \
| linkerd inject - \
| kubectl apply -f -
This command injects the Linkerd sidecar proxy into the application. The proxy helps secure and monitor service-to-service communication.
Extend Linkerd (Optional)
Linkerd has several extensions that can be installed to add extra functionality, such as:
- Viz: For observability enhancements (e.g., Grafana dashboards).
- Jaeger: For distributed tracing.
- Multicluster: For managing multiple Kubernetes clusters with Linkerd.
You can install these extensions using the linkerd install command followed by the extension name. For example, to install the Viz extension, run the command below.
linkerd viz install | kubectl apply -f -
Validate the Installation
After the Viz extension has been installed, check the installation status:
linkerd viz check
You can now access advanced visualizations, including the Grafana dashboards.
Access the Linkerd Dashboard
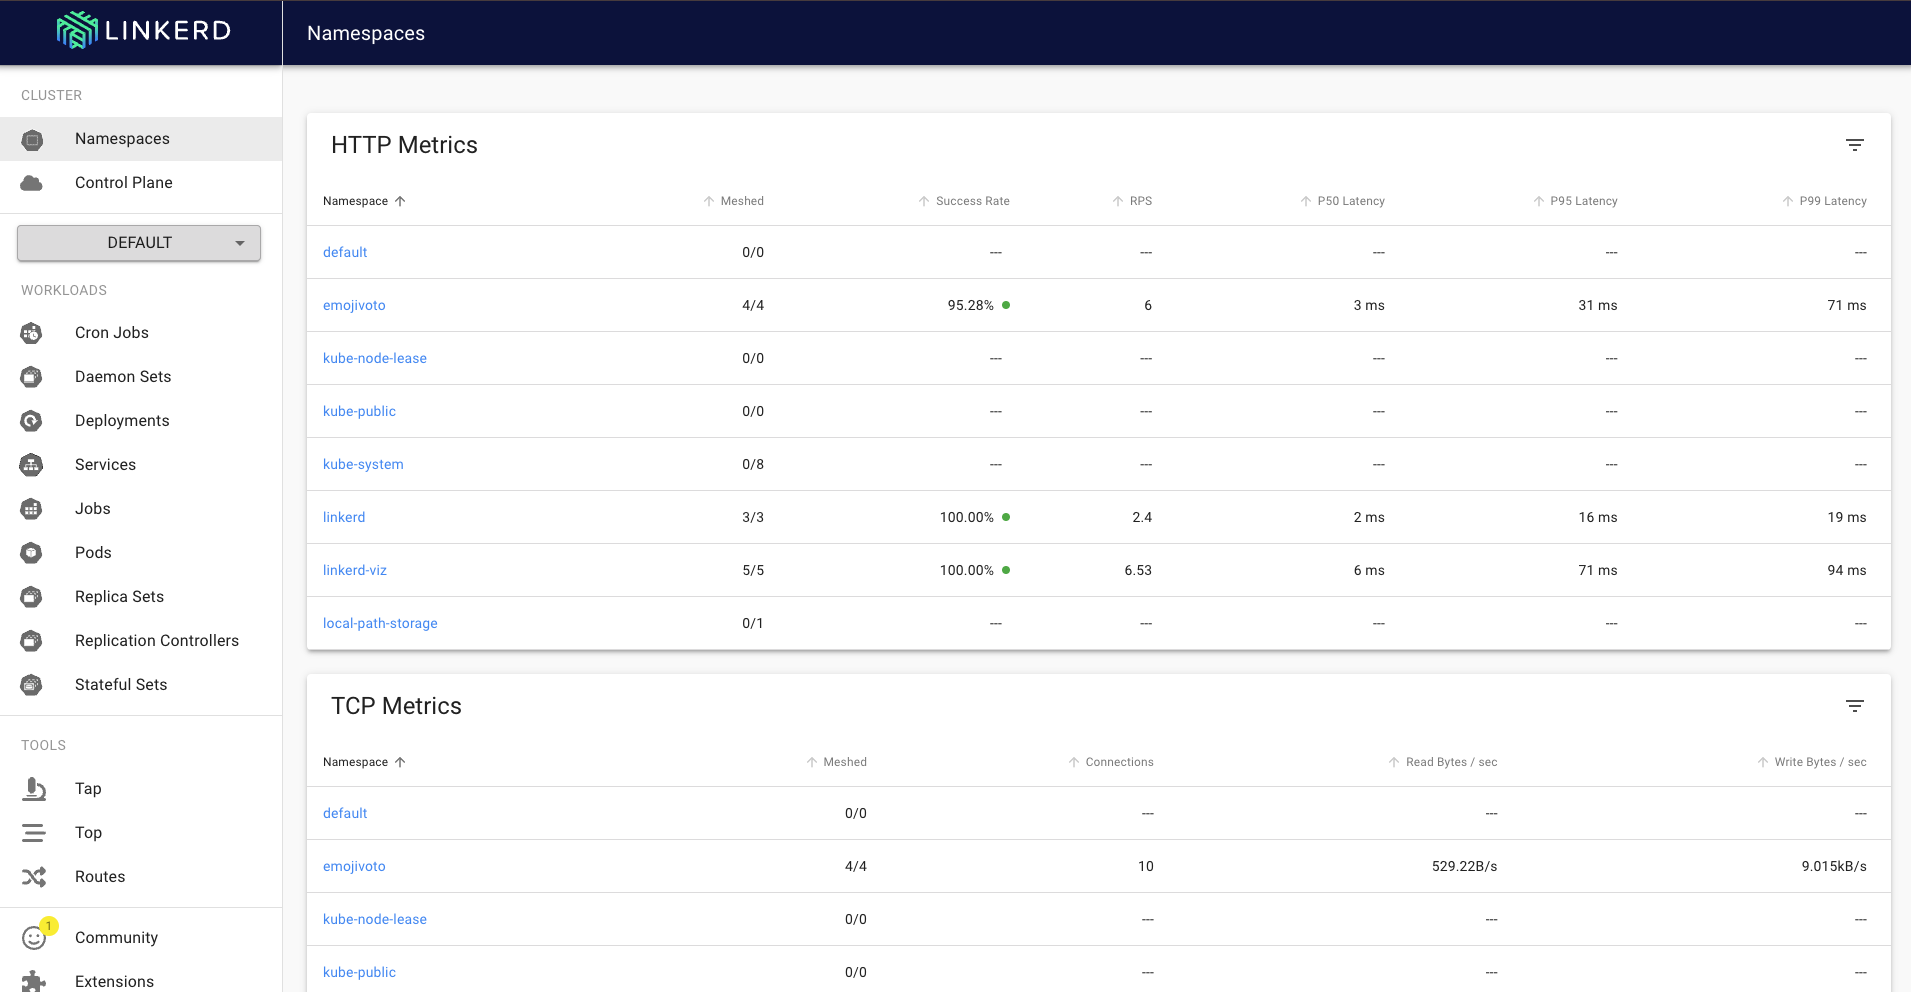
Linkerd has a powerful web dashboard that allows you to view your services.
To open the Linkerd dashboard, run this command. You can also use the Runme background task feature to make this run in the background while executing other commands.
linkerd viz dashboard
This will open the dashboard in your default browser, where you can view:
- The communication patterns between microservices.
- Real-time metrics like success rates and request latencies.
- Traffic split. If you implement traffic splitting (e.g., for canary deployments), you can see how traffic is routed between services.

Monitor Traffic Between Services
You can use the CLI to get real-time metrics from your application. For example, to view the live request traffic between services in the emojivoto namespace:
linkerd stat deploy -n emojivoto

This will show success rates, request latencies, and request volumes for your services.
To get more detailed traffic information, you can use tap. You can set this command to run in the background using the background task feature of Runme.
linkerd tap deploy -n emojivoto

This will provide a live stream of requests between your services, including HTTP status codes and response times.
Enable mTLS for Secure Communication
One of Linkerd’s key features is mutual TLS (mTLS), which automatically encrypts communication between services and verifies their identities.
To check if mTLS is enabled, run this command.
linkerd viz stat deploy -n emojivoto

You should see the percentage of requests secured by mTLS in the output.
Linkerd automatically manages mTLS certificates and handles certificate rotation, so minimal configuration is required. You can enforce policy checks to ensure all communication is encrypted.
Conclusion
In this guide, you’ve learned how to install and use Linkerd for service mesh capabilities on a Kubernetes cluster. You’ve explored core features like proxy injection, observability and secure mTLS communication.
To learn more about Runme and how it works with Kubernetes to make work easier, read our guides: